Screen recording on an iPhone has become an essential tool for sharing tutorials, capturing gameplay, or documenting important moments. With just a few taps, anyone can create high-quality videos directly from their device. This feature not only enhances communication but also allows users to showcase their creativity and skills.
Understanding how to enable and use the screen recording function can unlock a whole new level of productivity and fun. Whether you’re an experienced user or new to iOS, mastering this feature is straightforward. In the following sections, readers will discover step-by-step instructions to effortlessly start screen recording on their iPhones, ensuring they never miss a moment again.
Overview of Screen Recording on iPhone
Screen recording on an iPhone enables users to capture video content from their device’s display. It serves various purposes, including creating tutorials, capturing gameplay, and recording important events. Users appreciate the simplicity and convenience of this built-in feature, which requires minimal setup.
iPhone models running iOS 11 or later support screen recording. This feature resides in the Control Center for quick access. Once activated, it records not only screen activity but also audio, enhancing the quality of the captured content. Users can select whether to include microphone audio, providing flexibility for different recording needs.
To utilize screen recording, it’s essential to enable the feature in the Settings app. After activation, tapping the screen record icon in the Control Center begins the recording process. A timer indicates when the recording starts and stops, ensuring users have control over their captures. The recorded videos save directly to the Photos app, organizing recordings for easy retrieval and sharing.
How to Enable Screen Recording
Enabling screen recording on an iPhone is a straightforward process. Follow these steps for a successful setup.
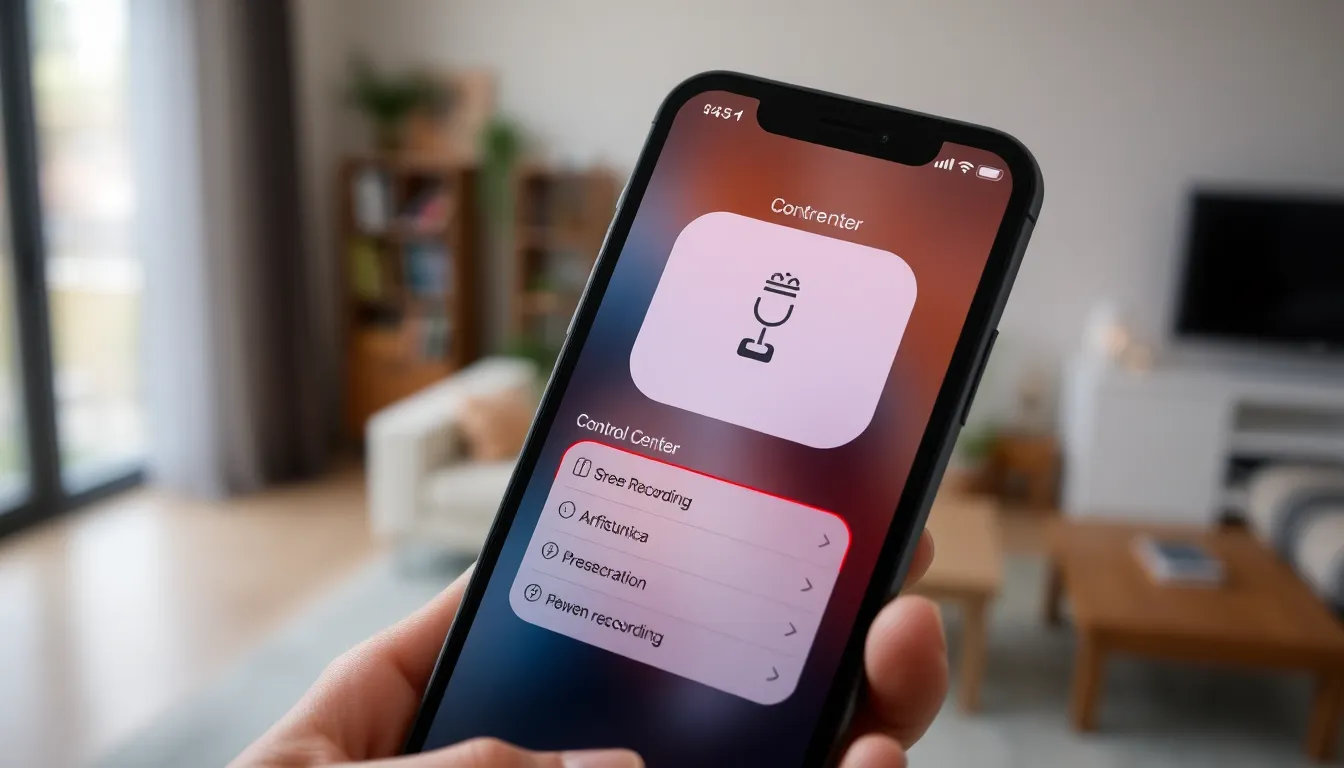
Accessing Control Center
- Swipe Down: Swipe down from the top-right corner of the screen on iPhones without a Home button. For models with a Home button, swipe up from the bottom edge.
- Locate Icon: Look for the screen recording icon, which resembles a solid dot within a circle. If it’s not visible, further setup is required.
Adjusting Screen Recording Settings
- Open Settings App: Launch the Settings app from the home screen.
- Select Control Center: Tap on “Control Center” to access customization options.
- Add Screen Recording: Scroll down to find “More Controls.” Tap the green plus icon next to “Screen Recording” to add it to the Control Center.
- Configure Audio Options: If including audio, long-press the screen record icon in Control Center. Tap the microphone icon to enable or disable audio recording.
This process ensures effective screen recording setup on an iPhone, providing users with access to this useful feature.
Steps to Initiate Screen Recording
To start screen recording on an iPhone, follow these straightforward steps to ensure effective capture of screen activity and audio.
Starting the Recording
- Access the Control Center: Swipe down from the top-right corner of the screen on iPhone models with Face ID. For iPhones with a Home button, swipe up from the bottom edge.
- Locate the Screen Record Icon: Identify the circular icon with a dot in the center. If absent, navigate to Settings, tap Control Center, then customize it by adding Screen Recording.
- Begin Recording: Tap the Screen Record icon. A three-second countdown appears, indicating recording initiation. If microphone audio is enabled, the recording captures both screen activity and external sounds.
Stopping the Recording
- End the Recording: To stop, either access the Control Center again and tap the Screen Record icon or tap the red recording indicator at the top of the screen.
- Confirm Stopping: A prompt may appear, confirming the user’s choice to stop the recording. Select “Stop” to finalize.
- Access Your Recording: Recorded videos save automatically to the Photos app, ready for viewing or sharing in moments.
Tips for Effective Screen Recording
Effective screen recording enhances the quality of the captured content. Implement these tips to maximize your screen recording experience on an iPhone.
Using Microphone for Audio
Using the microphone can significantly improve the audio quality of recordings. Tap and hold the screen record icon in the Control Center, then toggle the microphone audio on. This feature captures external sounds, including voiceovers or comments during gameplay, making videos more engaging.
Editing Screen Recorded Videos
Editing screen recordings can refine content before sharing. Open the Photos app, select the video, and tap “Edit.” Users can trim clips, adjust the volume, or apply filters to enhance visual appeal. After making adjustments, save the edited video for sharing or further use.
Troubleshooting Common Issues
Screen recording on an iPhone can encounter several issues. Below are common problems and solutions to ensure smooth functionality.
Screen Recording Icon Missing
- Check Settings: Navigate to Settings > Control Center > Customize Controls. Ensure Screen Recording appears under “Included Controls.”
- Restart Device: Power off the iPhone and turn it back on. This action can refresh system settings.
- Update iOS: Go to Settings > General > Software Update. Ensure the iPhone has the latest iOS version for optimal performance.
Screen Recording Doesn’t Capture Audio
- Microphone Access: Long-press the Screen Recording icon in the Control Center. Confirm that the microphone is activated (the microphone icon should appear red).
- App Permissions: Verify that the app used for recording permits audio playback. Check settings for specific applications.
Recording Freezes or Crashes
- Close Background Apps: Double-click the Home button or swipe up from the bottom (for Face ID models) to access the app switcher. Swipe up on unwanted apps to close them.
- Free Up Storage: Insufficient storage can hinder recording performance. Go to Settings > General > iPhone Storage to manage space and delete unnecessary files.
Videos Not Saving
- Check Photos Settings: Open Settings > Privacy > Photos. Ensure that the Photos app has access to the screen recording.
- Restart Photos App: Close the Photos app and reopen it to refresh the gallery, ensuring recent recordings are visible.
Screen Recording Has Low Quality
- Adjust Recording Settings: Go to Settings > Control Center > Customize Controls and ensure optimal settings for quality.
- Lighting and Resolution: Ensure adequate lighting and, if applicable, select higher resolution settings in the app being recorded.
Addressing these issues can enhance the screen recording experience, allowing users to capture and share content effectively.
Mastering screen recording on an iPhone opens up a world of possibilities for users. Whether it’s for creating tutorials sharing gameplay or capturing special moments the feature enhances communication and creativity. With simple steps to enable and use screen recording anyone can start creating engaging content in no time.
By following the outlined instructions users can easily access the Control Center and customize their settings for optimal recording quality. Troubleshooting tips ensure a smooth experience allowing users to focus on what matters most—capturing their screen effortlessly. Embracing this feature can elevate how one shares information and connects with others.